

What You'll Need Before You Start
Gathering the right materials before you begin saves you mid-project trips to the hardware store and keeps the work moving efficiently. The specific items you need depend on the size of your repair, but the list below covers the full range.
What you will need
Putty knife or drywall knife (3–6 inch)
Applies and smooths joint compound into cracks and over patches.
Wider finishing knife (10–12 inch)
Feathers out compound edges over larger areas to blend seamlessly with surrounding wall.
Joint compound (pre-mixed)
Fills cracks, covers mesh tape, and creates the smooth finish coat.
Self-adhesive mesh tape or paper tape
Reinforces repairs on medium to large holes to prevent future cracking.
Drywall patch kit or backer board
Provides structural support for fist-sized holes that lack a backing surface.
Sandpaper (120-grit and 220-grit)
Smooths dried compound between coats and creates a paint-ready surface.
Primer
Seals the repaired area so paint adheres evenly and sheen matches the surrounding wall.
Texture spray or brush (optional)
Replicates existing wall texture such as orange peel or knockdown on the patched area.
Step-by-Step Repair Instructions
Work through each step in order. Skipping surface prep or rushing drying times are the two most common reasons a drywall patch remains visible after painting. Patience between coats pays off in the final result.
Assess the damage and choose your method
Not all drywall damage is the same. Identify which category your repair falls into before gathering materials:
- Hairline cracks (under ¼ inch wide): Typically caused by seasonal movement or settling. Usually a surface-only issue.
- Small holes (up to 3 inches): Doorknob dings, anchor holes, minor impact damage. Need backing support.
- Large holes (3–6 inches): Require a proper patch panel and backer board or a clip system.
Also check whether the crack runs diagonally from a window or door corner — this can signal structural movement. When in doubt, consult a professional before proceeding.
Prepare the damaged area
Use a putty knife to gently scrape away any loose paper facing, crumbling gypsum, or old paint chips around the damage. For holes, press gently around the edges to confirm the surrounding drywall is solid. Wipe the area with a lightly damp cloth and let it dry completely before applying any compound.
Fill hairline cracks with joint compound
For hairline cracks, apply a thin layer of pre-mixed joint compound directly into the crack using a 3-inch putty knife. Press firmly to work compound into the gap, then draw the knife flat across the surface to remove excess. Cut a strip of paper tape to length, embed it over the crack while compound is still wet, then apply a thin skim coat over the tape. Let dry fully — typically 24 hours depending on humidity.
Patch small to medium holes
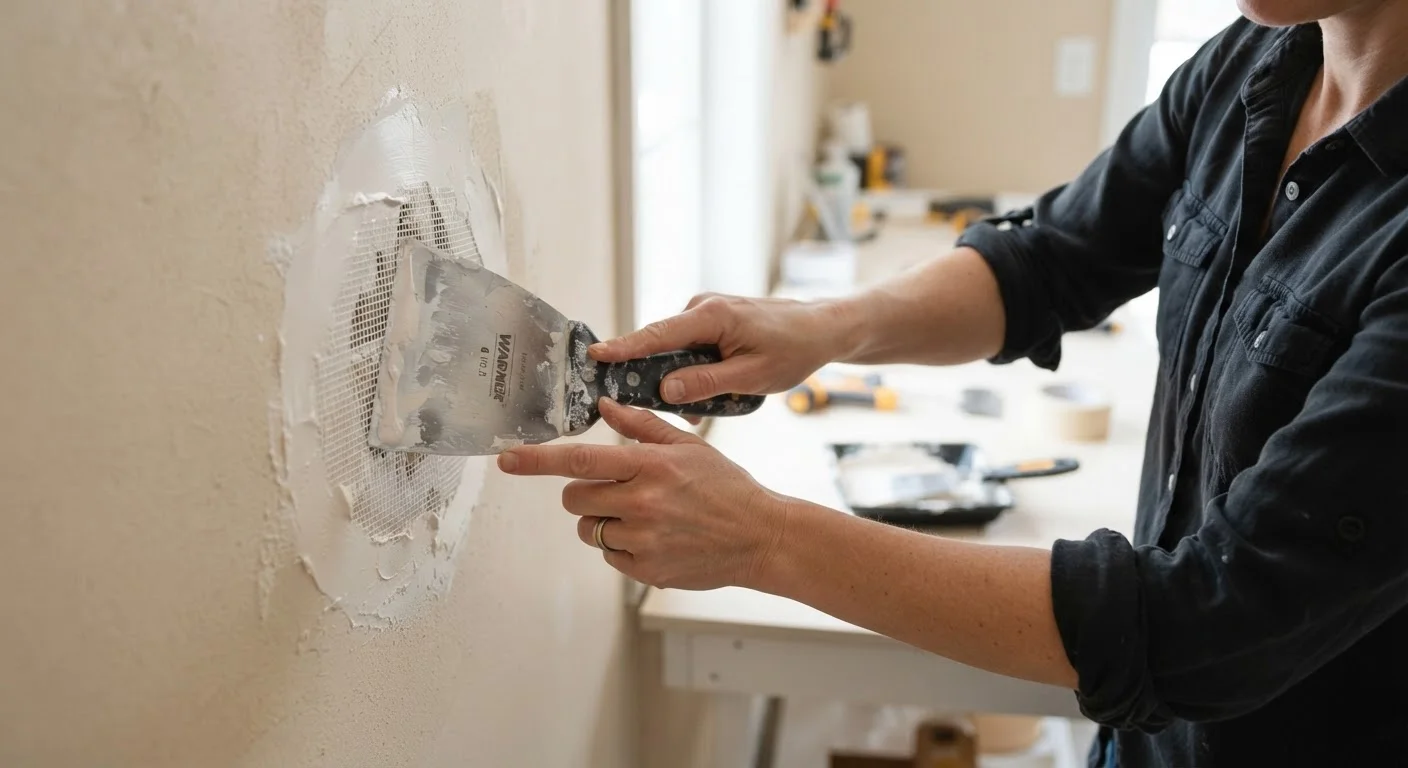
For holes up to 3 inches, a self-adhesive mesh patch is the most straightforward solution. Center the patch over the hole, press firmly to adhere, then apply joint compound over it with a 6-inch knife, feathering the edges outward 2–3 inches beyond the patch perimeter. Allow to dry, sand lightly with 120-grit paper, and apply a second coat. Repeat until the surface is flush with the surrounding wall.
Repair large holes with a backing board
For holes between 3 and 6 inches, cut a piece of scrap drywall slightly larger than the hole into a clean square or rectangle. Trace this shape around the hole and cut away the damaged section with a drywall saw, keeping cuts between studs. Attach a wooden backer board (a 1×3 works well) inside the opening, securing it to the existing drywall with screws on either side. Screw your drywall patch piece to the backer, apply mesh tape over all seams, and build up with two to three coats of joint compound, feathering edges wide.
Sand smooth and match texture
Once your final compound coat is fully dry, sand the area with 120-grit sandpaper, then finish with 220-grit for a smooth surface. Wipe away all dust with a dry cloth. If your walls have a texture — orange peel, knockdown, or skip trowel — replicate it now using a texture spray or by hand before priming. Texture is easier to apply lightly and build up than to remove after it dries.
Prime and paint the repaired area
Apply a coat of drywall primer to the entire repaired area — joint compound is porous and will absorb paint unevenly without it, creating a dull spot called flashing. Let the primer dry, then paint to match your existing wall color. For the most seamless result, paint the full wall panel from corner to corner rather than spot-painting the patch alone.
Watch for Hidden Moisture Before Patching
If the damaged area shows any yellow or brown staining, soft spots, or a musty smell, stop and investigate the source of moisture before completing any repair. Patching over wet or water-damaged drywall traps moisture inside the wall cavity, which can lead to mold growth. Address the leak or condensation source first, allow the area to dry fully, and consider consulting a professional if you find evidence of extensive moisture intrusion.
When to Call a Professional
Most drywall repairs are genuinely DIY-friendly, but a few situations call for a licensed contractor or inspector rather than a weekend fix:
- Diagonal cracks at corners of doors or windows that keep returning after repair — these may indicate foundation settlement or framing movement.
- Water-stained or soft drywall — any repair must wait until the moisture source is identified and corrected. Patching over active water damage traps moisture and promotes mold growth.
- Very large sections of damage spanning multiple stud bays, where hanging new drywall panels and taping full seams is more appropriate than patching.
Keep Leftover Compound for Touch-Ups
Store any unused joint compound in an airtight container with a thin layer of water on top to prevent it from drying out. A sealed tub can last several months in a cool location. This makes follow-up touch-ups much easier if you notice any imperfections after the paint dries.
When in doubt about the cause of the damage, a professional assessment before you pick up a putty knife can save you from repairing the same spot twice.
The content provided on our blog site traverses numerous categories, offering readers valuable and practical information. Readers can use the editorial team’s research and data to gain more insights into their topics of interest. However, they are requested not to treat the articles as conclusive. The website team cannot be held responsible for differences in data or inaccuracies found across other platforms. Please also note that the site might also miss out on various schemes and offers available that the readers may find more beneficial than the ones we cover.