

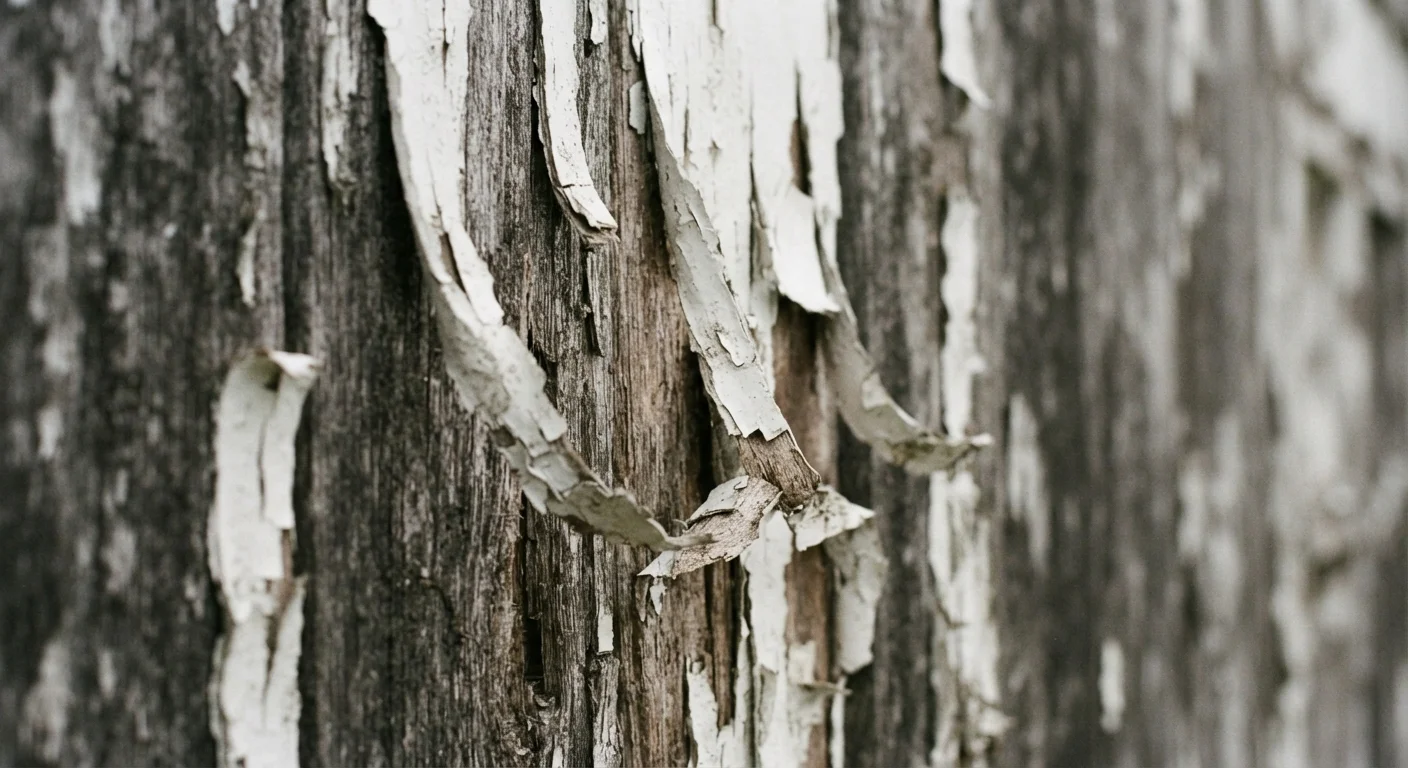
What Peeling Paint Is Actually Telling You
Peeling paint is rarely just cosmetic. It's a symptom — your home's way of signaling that something went wrong either during the original application or with conditions behind the surface. Understanding what drives paint failure helps you fix the real problem instead of just covering it up.
The two most common culprits are moisture infiltration and poor adhesion. Moisture can come from outside through failed caulk or cracks, or from inside through condensation in bathrooms, kitchens, and laundry areas. Adhesion failures happen when the surface wasn't properly prepared — or when environmental conditions during application were wrong.
Peeling Paint May Signal a Moisture Problem
If paint is peeling in repeated cycles — especially around windows, ceilings, or bathroom walls — there may be an active moisture intrusion or ventilation issue behind the wall. Repainting over active moisture will not fix the problem. Address the source first, and consult a contractor or building inspector if you suspect structural water damage.
Before you reach for a scraper, take time to diagnose. Look for patterns: Is it peeling near a window or roof line? That points to water intrusion. Is it peeling in sheets with a glossy surface beneath? That suggests the paint never bonded because the surface wasn't cleaned or deglossed. Matching the fix to the cause is the only way to get a lasting result.
Common Mistakes That Lead to Peeling Paint
Most peeling paint traces back to one or more of these preventable errors. Recognizing them before you start your next project can save you from repeating the same frustrating cycle.
Painting over a dirty, greasy, or chalky surface without cleaning it first.
Why it happens: Homeowners often assume a surface looks clean enough, especially indoors. Invisible residues from cooking grease, dust, or chalking (a powdery breakdown of old exterior paint) prevent new paint from bonding properly.
Skipping primer, especially on bare wood, patched areas, or highly porous surfaces.
Why it happens: Primer adds an extra step and cost, so many DIYers skip it — particularly when using paint labeled as "paint and primer in one." These combination products are not always an adequate substitute on problem surfaces.
Applying paint in temperatures or humidity levels outside the manufacturer's recommended range.
Why it happens: Painting on a warm afternoon feels logical, but heat above roughly 90°F causes paint to dry too quickly, trapping solvent and reducing adhesion. High humidity — often above 85% — prevents water-based paints from curing correctly.
Applying too-thick coats in hopes of finishing faster.
Why it happens: Thick coats seem efficient, but the outer surface skins over while the paint underneath stays wet, creating internal stress that leads to cracking and peeling as the paint cures.
Ignoring gaps, cracks, or failed caulk around windows and trim before painting.
Why it happens: Caulk gaps are easy to overlook when paint looks intact. But water infiltrating through even small openings migrates under the paint film and causes lifting and peeling — sometimes far from the actual entry point.
Homes Built Before 1978: Test for Lead Paint First
If your home was built before 1978, paint layers may contain lead. Scraping or sanding lead paint creates hazardous dust. Purchase an EPA-recognized lead test kit before disturbing any paint, and follow EPA Renovation, Repair, and Painting (RRP) guidelines or hire a certified contractor for remediation.
How to Set Yourself Up for a Long-Lasting Finish
Once you've addressed the root cause — moisture, failed caulk, or a compromised substrate — proper prep makes the difference between paint that lasts years and paint that fails by next season.
90%
Of paint failures traced to poor surface prep
Industry painting professionals broadly estimate that the vast majority of premature paint failure is caused by inadequate surface preparation rather than paint quality.
1978
Year lead-based residential paint was banned in the U.S.
The U.S. Consumer Product Safety Commission banned lead paint in residential use in 1978, making older homes a key concern when disturbing existing paint layers.
- Scrape and sand thoroughly. Remove all loose, flaking paint down to a stable surface. Feather the edges of any remaining paint with sandpaper so there's no hard ridge for new paint to bridge.
- Clean the surface. Wash with a TSP substitute solution, rinse, and allow complete drying — typically 24 to 48 hours for exterior wood.
- Prime strategically. Apply a primer suited to your surface before topcoating. Don't skip this step on bare or previously peeling areas.
- Paint in the right conditions. Choose a mild, dry day and work in the shade where possible. Avoid painting if rain is forecast within 24 hours for exterior work.
When you're ready to move beyond repairs and take on a full interior refresh, our complete guide to interior painting walks through everything from sheen selection to cutting clean edges without lap marks.
The content provided on our blog site traverses numerous categories, offering readers valuable and practical information. Readers can use the editorial team’s research and data to gain more insights into their topics of interest. However, they are requested not to treat the articles as conclusive. The website team cannot be held responsible for differences in data or inaccuracies found across other platforms. Please also note that the site might also miss out on various schemes and offers available that the readers may find more beneficial than the ones we cover.