

Choosing the Right Paint Sheen
Paint sheen — the degree of light reflectivity in a dried finish — is one of the most practical decisions you'll make before opening a can. The options, from least to most reflective, are: flat/matte, eggshell, satin, semi-gloss, and gloss. Each serves different surfaces and living conditions.
- Flat/matte: Hides surface imperfections well but resists scrubbing poorly. Best for low-traffic ceilings and formal dining rooms.
- Eggshell: Slight sheen that wipes clean more easily. A reliable choice for living rooms and bedrooms.
- Satin: Noticeably washable and moisture-tolerant. Suits hallways, children's rooms, and family spaces that see daily wear.
- Semi-gloss: Durable and easy to clean, making it a standard choice for kitchens, bathrooms, doors, and trim.
- Gloss: The most durable and reflective finish; typically reserved for cabinetry and high-contact trim where scrubability matters most.
A common misconception is that higher sheen always means higher quality. In reality, a higher sheen will amplify every wall imperfection. The home improvement myths that cost homeowners time and money often include misreading sheen, leading to glossy walls that make every patch and dent obvious.
~350–400 sq ft
Coverage per gallon of paint
This is a general industry estimate for smooth interior surfaces; textured walls and porous materials reduce coverage noticeably.
2 coats
Coats typically needed for full coverage
Paint manufacturers generally recommend two finish coats over a primed surface to achieve the advertised color and durability.
80%
Of paint job quality attributed to prep work
Professional painting contractors widely agree that surface preparation — not the paint itself — determines most of the final result's quality and longevity.
Primers: When You Need One and Which to Use
Primer is a preparatory coating that improves paint adhesion, blocks stains, and seals porous surfaces. It is not universally required, but skipping it in the wrong situation leads to bleed-through, uneven color, and premature peeling.
When primer is necessary:
- New drywall (unpainted): The paper facing is extremely absorbent and will consume paint unevenly without primer.
- Drastic color changes (dark to light or vice versa): Primer reduces the number of topcoats needed.
- Water stains, smoke, or grease: Shellac-based or stain-blocking primers prevent these from bleeding through paint.
- Bare wood or patched areas: Spackle and joint compound are porous; spot-prime patches before painting the full wall.
Types of primer at a glance:
- Water-based (latex) primer
- Low odor, fast drying, suitable for most interior drywall and previously painted surfaces in good condition.
- Oil-based primer
- Strong adhesion and excellent stain blocking; works well on bare wood and persistent stains, but requires mineral spirits for cleanup.
- Shellac-based primer
- The most powerful stain blocker available; ideal for severe water damage, smoke staining, or odor containment.
When spot-priming patches, always feather the primer 2–3 inches beyond the patch boundary. A hard primer edge will telegraph through your topcoat as a visible ring.
Paint film builds up slightly at edges, making abrupt transitions visible even after multiple finish coats.
Tint your primer to roughly match your topcoat color — most paint counters can do this at no extra charge. It meaningfully reduces the number of topcoats needed for full, even coverage.
A closer primer-to-topcoat color relationship reduces the optical contrast that would otherwise require additional finish coats to overcome.
Preparing Walls and Surfaces
Professional painters consistently say that prep work accounts for the majority of a quality result. Rushing this stage is the single most common reason DIY paint jobs look mediocre within months.
Step-by-step prep process:
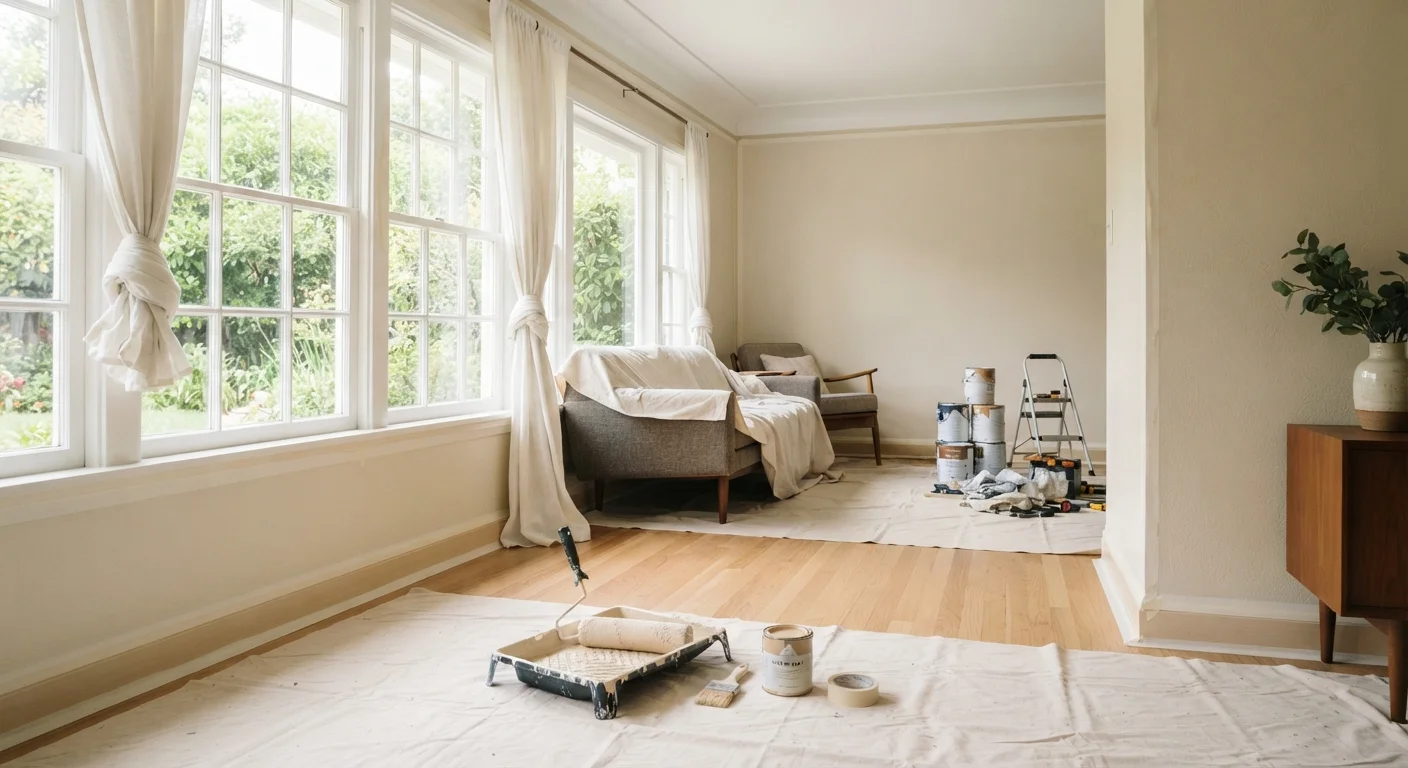
- Clear and protect the room. Move furniture to the center and cover it with drop cloths. Remove outlet covers and switch plates and bag them together with their screws.
- Inspect walls thoroughly. Look for cracks, nail holes, dents, and loose or peeling paint. Mark problem areas with painter's tape so you don't miss them.
- Patch and sand. Fill holes with lightweight spackle; let it dry fully, then sand smooth with 120-grit sandpaper. Feather the edges so the patch blends into the surrounding surface.
- Clean the walls. Wash surfaces with a mild detergent solution and rinse well. Grease, dust, and residue prevent paint from bonding properly.
- Apply painter's tape. Press tape firmly along trim, ceilings, and baseboards. Run a putty knife or your fingernail along the tape edge to seal it tight and prevent bleeding.
Before you paint, this is also a good moment to address any gaps around window and door frames. See our guide to caulking windows and doors the right way for technique that makes the seal last before you pick up the roller.
Sand Between Patches and Prime Bare Spots
After patching and before priming, do a final pass with a bare hand over every repaired area. You'll feel ridges and high spots you can't always see under artificial light. A quick sand with 120-grit paper takes seconds and makes a visible difference in the finished wall.
Cutting In and Rolling Without Lap Marks
Lap marks — those streaky lines where a section of paint dried before you rolled over it — are the most visible sign of a rushed paint job. Avoiding them requires understanding how paint dries and sequencing your work accordingly.
Cutting In
"Cutting in" means painting a 2–3 inch band along edges — corners, ceilings, and trim — using an angled brush before rolling the open wall area. Use a quality synthetic-bristle brush and load it with enough paint to flow smoothly without dripping. Move the brush in long, steady strokes, keeping a wet edge at all times. Cut in one wall at a time, then immediately roll that wall before the cut-in strip dries.
Rolling Technique
- Use a roller with the correct nap (thickness): 3/8-inch for smooth walls, 1/2-inch for lightly textured, 3/4-inch or more for heavily textured surfaces.
- Load the roller fully and remove excess by rolling it on the grid of the tray — never on the floor.
- Apply paint in a large W or M pattern, then fill in without lifting the roller. This distributes paint evenly before it starts to set.
- Maintain a wet edge by overlapping each pass into the still-wet previous pass while working quickly.
- Apply two thin coats rather than one heavy coat. Allow the manufacturer's recommended dry time between coats.
Never Paint Over Damp or Wet Walls
Painting over moisture — from a recent wash, humidity, or an unresolved leak — traps water beneath the film and causes bubbling, peeling, and mold growth. Always allow washed walls to dry for at least 24 hours before painting, and address any active water intrusion before starting any paint project.
Common Mistakes and How to Avoid Them
Even a well-intentioned paint project can go sideways. Here are the missteps we see most often — and how to sidestep them.
- Painting in poor conditions: Temperature extremes and high humidity slow drying and can cause the paint film to fail. Most latex paints apply best between 50°F and 85°F with moderate humidity. Check the paint can's label for specifics.
- Skipping the second coat: One coat rarely provides the coverage shown on the chip. The second coat fills in pinholes, evens out sheen, and dramatically improves color depth.
- Removing tape at the wrong time: Pull painter's tape while the paint is still slightly tacky — not fully cured. Score along the tape edge with a utility knife first to prevent peeling the top coat with it.
- Ignoring ventilation: Open windows, run exhaust fans, and take breaks. Even low-VOC (volatile organic compound) paints release fumes that accumulate in enclosed spaces.
- Buying too little paint: A standard gallon covers roughly 350–400 square feet per coat on smooth surfaces. Calculate your square footage (wall height × perimeter), subtract large windows and doors, and add 10–15% for waste and touch-ups.
Approaching a paint project with the same honest self-assessment you'd bring to any home task — knowing what you can handle and what warrants professional help — leads to better outcomes. The same principle applies to vehicle care; our guide on DIY vs. shop car maintenance offers a useful framework for thinking through that boundary in another domain.
Once your freshly painted rooms are looking their best, it's a natural time to rethink how you're using the space. Our room-by-room home organization walkthrough offers practical strategies for every room busy families actually live in.
Watch for Lead Paint in Older Homes
Homes built before 1978 may have lead-based paint on walls, trim, or ceilings. Sanding or scraping lead paint without proper precautions creates hazardous dust. If your home is from that era and you're unsure of the paint history, purchase an inexpensive lead test kit before sanding, or consult a certified lead-safe contractor. The EPA's Renovation, Repair, and Painting (RRP) Rule governs work in pre-1978 homes.
The content provided on our blog site traverses numerous categories, offering readers valuable and practical information. Readers can use the editorial team’s research and data to gain more insights into their topics of interest. However, they are requested not to treat the articles as conclusive. The website team cannot be held responsible for differences in data or inaccuracies found across other platforms. Please also note that the site might also miss out on various schemes and offers available that the readers may find more beneficial than the ones we cover.