

Why Caulk Fails Before Its Time
A caulk job that cracks or peels within a season almost always traces back to preparation shortcuts or the wrong product. Caulk is a flexible sealant that bridges the gap between two surfaces that expand and contract at different rates — window frames and siding, door jambs and brick, glass and trim. When that flexibility is compromised by improper adhesion, moisture contamination, or incompatible materials, failure is predictable.
Many homeowners assume caulking is purely cosmetic. In reality, gaps around windows and doors allow conditioned air to escape, moisture to penetrate wall cavities, and insects to enter. As explained in our article on home improvement myths that cost homeowners time and money, skipping surface prep is one of the most expensive errors a DIYer can make. Getting the fundamentals right from the start is what separates a two-year seal from a ten-year one.
Up to 30%
Home heating/cooling energy lost through gaps and air leaks
The U.S. Department of Energy estimates that sealing air leaks around windows, doors, and other openings can meaningfully reduce energy loss in a typical home.
10+ years
Expected lifespan of properly applied quality caulk
High-quality siliconized latex or silicone caulk applied to a properly prepared surface can maintain its seal for a decade or more under normal conditions.
Choosing the Right Caulk for the Job
Not all caulks are interchangeable. The two most relevant types for windows and doors are silicone and siliconized latex (also called paintable silicone or latex-silicone blend).
- 100% silicone bonds exceptionally well to glass and metal, handles wide temperature swings, and resists UV degradation. It cannot be painted, so it's best used where it will stay hidden or in a color that matches permanently.
- Siliconized latex is easier to smooth, cleans up with water, and accepts paint once cured — making it the practical choice for most painted wood or vinyl window and door frames.
- Butyl rubber caulk is sometimes specified for metal-to-masonry joints or roofline flashing, where extra adhesion to porous surfaces matters.
For joints that experience significant seasonal movement — common in older homes — look for a product rated for at least 25% joint movement. This rating is usually printed on the tube. See our guide on grout vs. caulk for every joint in your home for a broader look at filler selection.
Match Caulk Color to Your Trim
Most paintable latex caulks come in white, off-white, and clear. If you're not planning to paint over the caulk, select a color that most closely matches your existing trim. Clear silicone is a reliable neutral choice for glass-to-frame joints where no paint will be applied.
Surface Preparation: The Non-Negotiable Step
New caulk applied over old, dirty, or damp surfaces will not bond reliably — period. Preparation takes more time than application, and it's time well spent.
Remove all existing caulk before applying new sealant
New caulk bonded over old caulk adheres to the old material rather than the substrate, dramatically reducing its lifespan. Residual caulk also creates an uneven surface that causes gaps in the new bead.
Allow surfaces to dry completely — at least 24 hours after any rain or cleaning
Moisture trapped beneath caulk prevents adhesion and causes premature peeling or mold growth behind the bead. This is especially critical for exterior joints that have been exposed to weather.
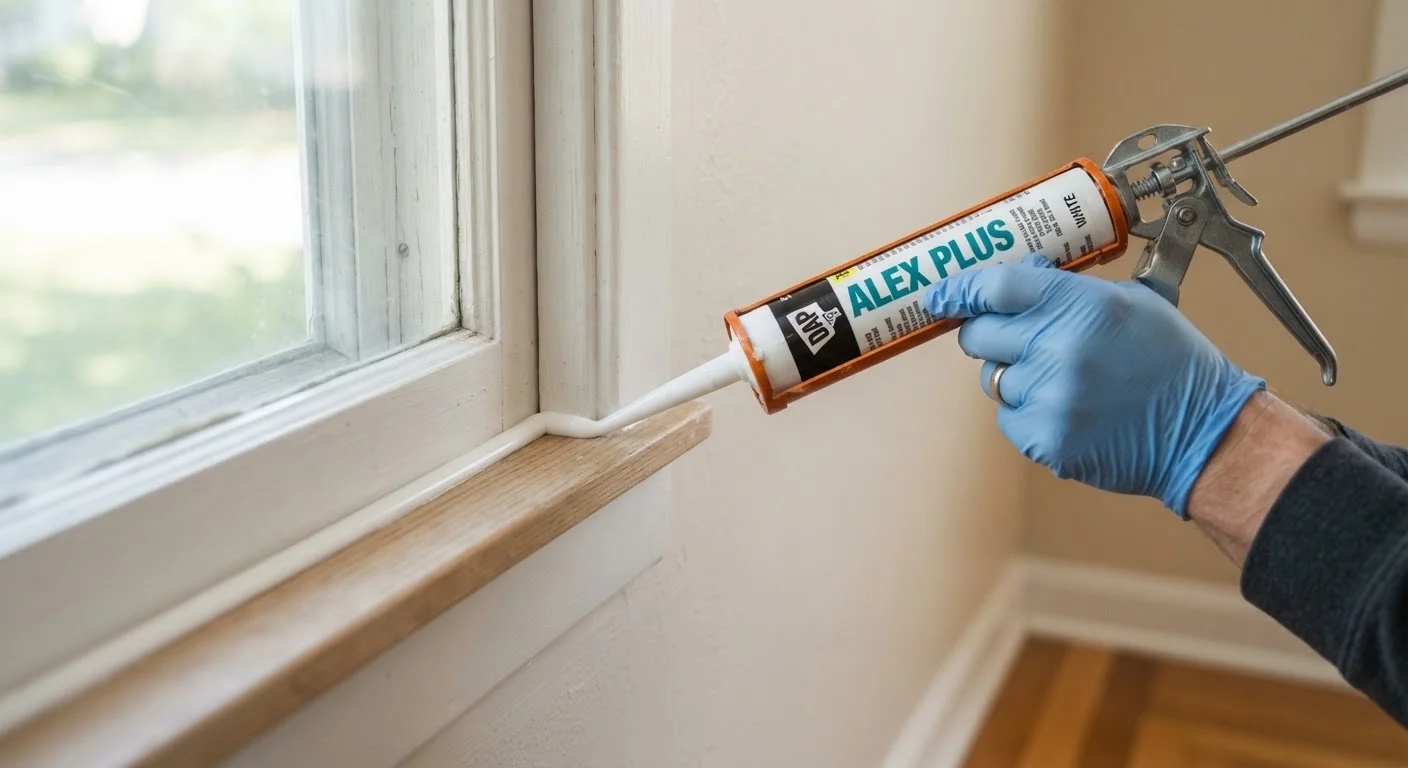
Cut the caulk tube tip at a 30-degree angle, starting small
The tip angle controls how the sealant flows and how closely you can track the joint. A shallow cut gives you control over bead width; you can always trim more off, but you can't put material back.
Pull the gun toward you rather than pushing it away
Pulling allows the caulk to fill the joint ahead of the nozzle and press into the gap, rather than riding over the surface. This produces better adhesion and a more consistent bead with fewer voids.
Tool the bead immediately after laying it
Smoothing the bead while it's still wet presses caulk firmly against both substrates, eliminates surface bubbles, and creates a concave profile that sheds water rather than collecting it.
Applying and Finishing the Bead
Once surfaces are clean, dry, and primed where required, application technique determines the final quality of the seal.
After you've finished caulking, keep the area dry and undisturbed during the curing window — typically 24 hours for latex blends and up to 72 hours for silicone, though always follow the manufacturer's guidance on the product label. If the caulk is in an exterior location, check the weather forecast: rain or freezing temperatures during curing can prevent proper bonding. Poor moisture control around windows can sometimes compound into larger issues; our article on basement moisture and what causes it covers how water infiltration can spread further than homeowners expect.
This article provides general home improvement information for educational purposes. Always verify local building codes and, for work involving structural components or permitted repairs, consult a licensed contractor.
The content provided on our blog site traverses numerous categories, offering readers valuable and practical information. Readers can use the editorial team’s research and data to gain more insights into their topics of interest. However, they are requested not to treat the articles as conclusive. The website team cannot be held responsible for differences in data or inaccuracies found across other platforms. Please also note that the site might also miss out on various schemes and offers available that the readers may find more beneficial than the ones we cover.