

Option A
Grout
The rigid, structural filler for tile field joints.
Best for: Best for filling the gaps between tiles on flat, stable surfaces where minimal movement is expected.
Option B
Caulk
The flexible, waterproof sealant for transition zones.
Best for: Best for sealing joints at corners, edges, and where two different surfaces meet and may flex or shift.
What Makes Grout and Caulk Different
At a glance, grout and caulk can look almost identical once applied — both fill gaps, both come in similar colors, and both show up in bathrooms and kitchens. But their chemistry and behavior are fundamentally different, and using the wrong one in the wrong place is one of the most common causes of failed tile work.
Grout is a cement-based (or, in some cases, epoxy-based) material that cures hard and rigid. It's engineered to fill the joints between tiles and bond them into a unified, load-bearing surface. Because it's essentially a form of mortar, it doesn't bend — and that's by design on flat, stable surfaces where no movement is expected.
Caulk is a silicone, latex, or hybrid sealant that stays permanently flexible after curing. It can compress and stretch slightly as surrounding materials expand and contract with temperature changes, humidity, and the general settling that all homes experience over time.
| Criterion | Grout | Caulk |
|---|---|---|
| Base material | Cement or epoxy | Silicone, latex, or hybrid |
| Flexibility after cure | Rigid — does not flex | Permanently flexible |
| Best joint type | Tile-to-tile (flat planes) | Corners, edges, transitions |
| Handles movement | No — cracks under stress | Yes — absorbs expansion and flex |
| Waterproofing | Resistant; may need sealing | Watertight seal when properly applied |
| Repairability | Requires grinding out and replacing | Peels out and re-applies relatively easily |
| Color matching | Wide range; can be sealed | Available in colors to match grout |
The core rule is straightforward: grout goes where surfaces are stable; caulk goes where surfaces move or meet. Understanding why that rule exists will help you apply it confidently to situations not covered in any instruction sheet.
Where Each Material Belongs in Your Home
The practical application of this rule plays out in very specific locations around the home. Knowing these zones by heart will save you from recurring repairs.
Use Grout Here
- Between tiles on floors and walls: Any joint where tile meets tile on a flat, uninterrupted plane is grout territory. This includes kitchen backsplashes, bathroom wall fields, and floor tiles throughout the home.
- Mosaic and decorative tile installations: The thin joints in mosaic work need grout's fine-grained consistency to fill completely without gaps.
Use Caulk Here
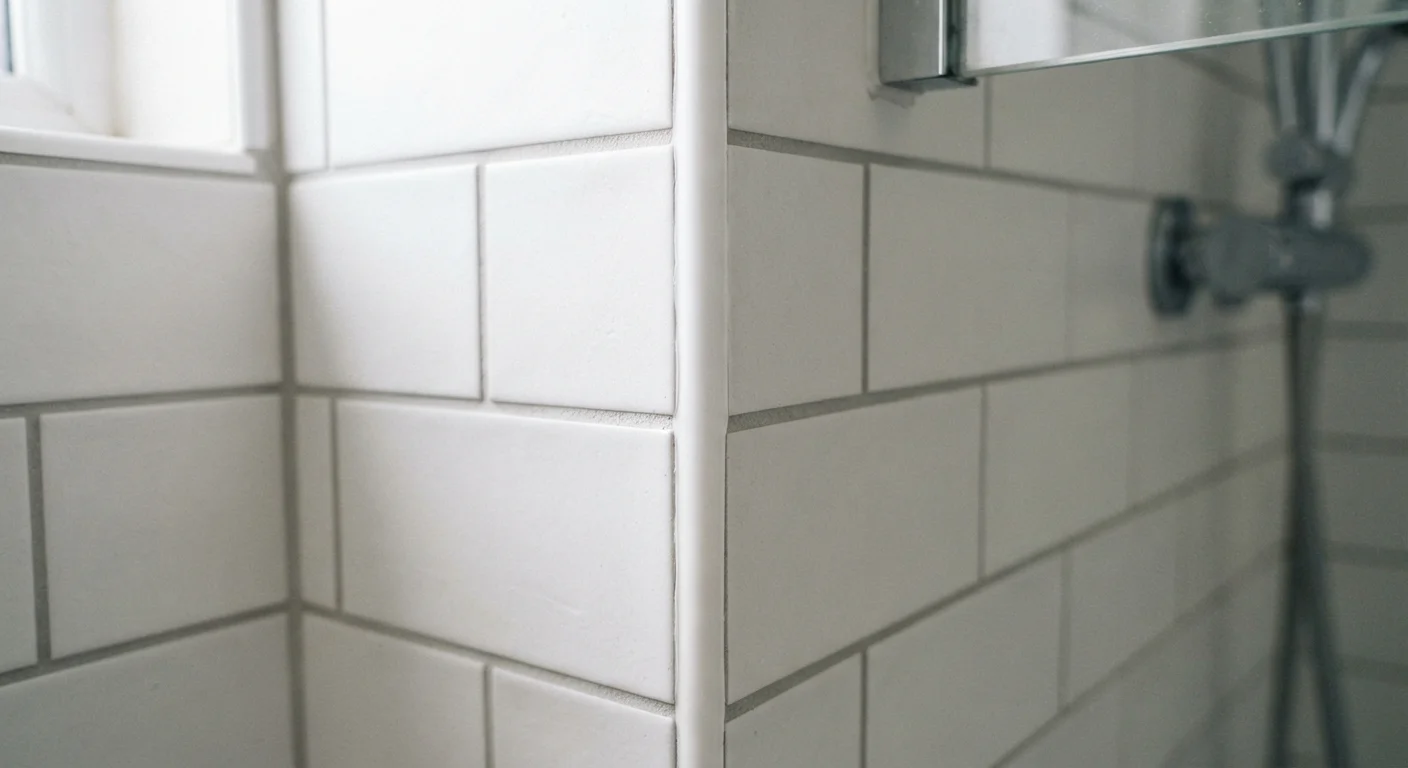
- Inside corners of showers and tub surrounds: Where two tiled walls meet at a right angle, that joint is a flex point. Grout in this location will almost always crack within a year or two.
- Where tile meets the tub, shower base, or countertop: The joint between a ceramic tub deck and the tile wall above it must be caulked. These two surfaces move independently.
- Where tile meets a different material: Window frames, wood trim, metal thresholds, and appliance edges all require caulk at their junctions with tile.
- Along the base of a toilet or sink pedestal: Caulk creates a hygienic, waterproof seal that can be removed for future repairs.
If you're planning a full tile project from the ground up, our beginner's guide to tile floor installation walks through layout, adhesive, and grouting in sequence so you can plan both materials together from the start.
Color-Matching Caulk to Your Grout
Most major grout lines offer a companion caulk in the same color palette specifically for use at inside corners and transitions. Using a color-matched caulk makes the switch from grout to caulk nearly invisible to the eye. Look for this option when selecting your grout, and purchase both at the same time to ensure the color codes align.
Application Tips for a Clean, Lasting Result
Even the right material fails if it's applied poorly. A few straightforward habits make a significant difference in how long your work holds up.
For Grout
- Mix to the right consistency. Grout should resemble thick peanut butter — not runny, not crumbly. Follow the manufacturer's water ratio precisely.
- Work in sections. Spread grout diagonally across joints with a rubber float, then clean the tile face with a damp sponge before the grout hazes over.
- Allow full cure before wetting. Most sanded and unsanded grouts need at least 24–72 hours before exposure to water, though cure times vary by product — check the label.
For Caulk
- Prep the surface completely. Remove all old caulk, soap residue, and mildew. Caulk will not adhere properly to a dirty or damp surface. See our guide to proper caulk application for detailed surface prep techniques.
- Cut the nozzle at a shallow angle. A small opening — around 3/16 inch — gives you better control over bead width.
- Tool immediately. After laying the bead, run a wet fingertip or a caulk tool along the joint within a minute or two to press it into the gap and create a smooth, concave profile.
- Don't rush the cure. Most bathroom-grade silicone caulk requires 24 hours before water contact, though high-humidity silicones may specify longer — read the product instructions.
#1
Cause of grout joint failure in showers
According to tile industry guidance, applying grout to inside corners and change-of-plane joints — instead of caulk — is the leading reason tiled shower surrounds fail prematurely.
24–72 hrs
Typical cure time before water exposure
Most standard tile grouts and bathroom-grade caulks require at least 24 hours of cure time, with some grout formulations recommending up to 72 hours — always verify on the product label.
Keeping a small tube of color-matched caulk on hand means you can address hairline failures at inside corners promptly, before water has a chance to migrate behind your tile.
The content provided on our blog site traverses numerous categories, offering readers valuable and practical information. Readers can use the editorial team’s research and data to gain more insights into their topics of interest. However, they are requested not to treat the articles as conclusive. The website team cannot be held responsible for differences in data or inaccuracies found across other platforms. Please also note that the site might also miss out on various schemes and offers available that the readers may find more beneficial than the ones we cover.