

Why Pollinators Need Your Backyard
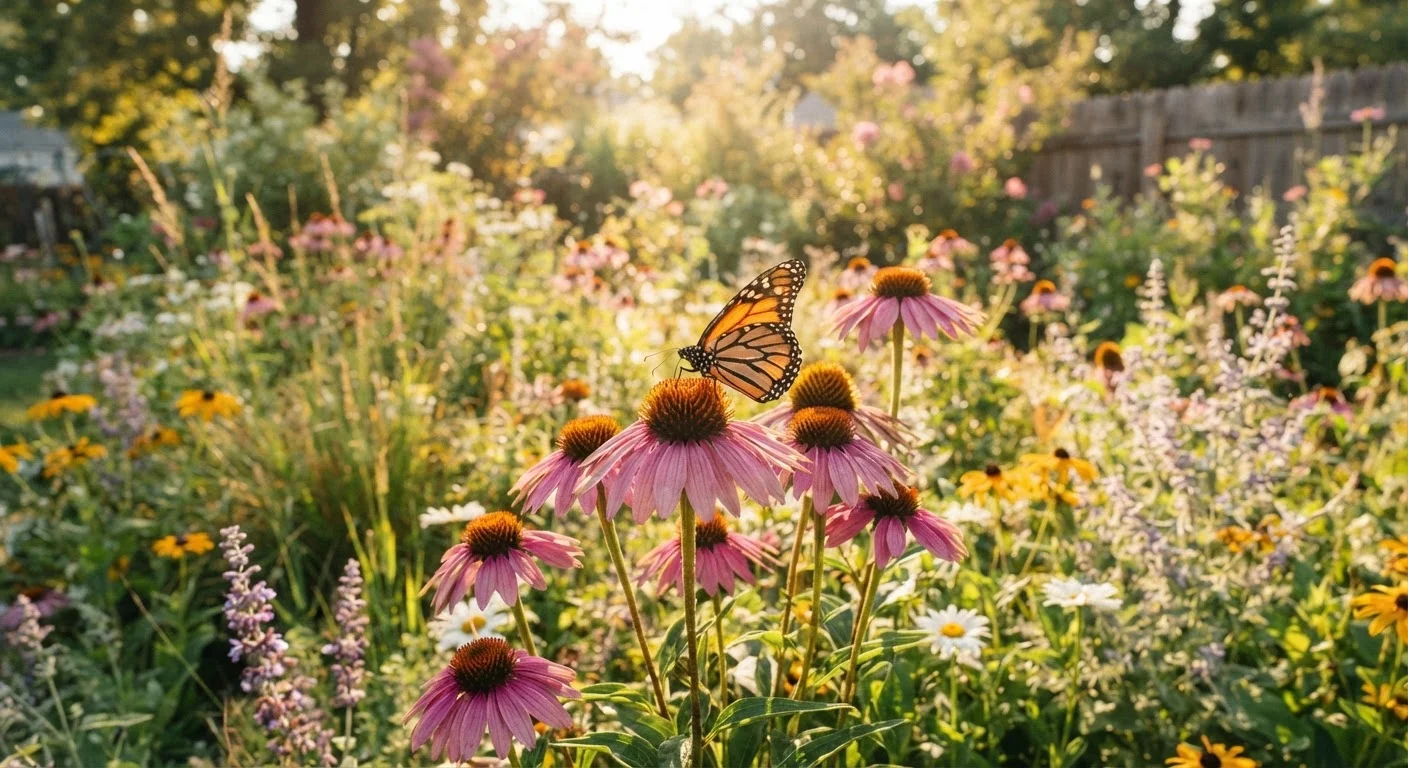
Bees, butterflies, moths, and other pollinators are under growing pressure from habitat loss, monoculture farming, and widespread pesticide use. Home gardens, taken together, represent a meaningful patchwork of habitat that can help fill the gap — especially when those gardens are managed without chemicals and planted with species pollinators can actually use.
The good news is that creating a pollinator-friendly yard doesn't require a large space, specialized expertise, or significant spending. Even modest changes — stopping pesticide use, planting a few native species, adding a water dish — can produce visible results within a single growing season. Families with children often find that a pollinator garden becomes a natural focal point for outdoor time, turning a passive yard into an active, living space. For ideas on how to extend that enjoyment, explore outdoor living spaces your family will actually use all season.
Start Small for Lasting Results
You don't need to overhaul your entire yard at once. Even a single raised bed or a 4-by-4-foot corner planted with native flowering species can attract pollinators within one season. Build on what works each year rather than attempting everything at once — your garden will improve steadily without overwhelming your schedule or budget.
What You'll Need Before You Start
A successful pollinator garden begins with honest preparation. Gather your tools, identify your planting area, and consult regional plant resources before purchasing anything. The steps below are designed to be completed in stages — you don't need to tackle them all in a single weekend.
What you will need
Garden trowel
Used for digging small planting holes and moving soil when installing plants or seeds.
Watering can or garden hose
Provides consistent moisture to newly planted native species while they establish root systems.
Shallow dish or birdbath
Creates a simple water source for pollinators, especially bees, which need clean drinking water.
Mulch (wood chip or leaf litter)
Suppresses weeds naturally around plantings without chemicals, reducing maintenance over time.
Native plant field guide or extension service resource
Helps identify which flowering plants are native to your specific region and bloom at the right times.
Step-by-Step: Building Your Pollinator Garden
Follow these steps in order for the most efficient results. Each builds on the last, and the whole process can unfold gradually over a season rather than all at once.
Pesticides Harm Pollinators Directly
Many common insecticides — including some marketed as 'natural' — are toxic to bees, butterflies, and other beneficial insects. Even systemic pesticides applied to soil can be taken up by plants and contaminate nectar and pollen. Before applying any product to your garden, check whether it is safe for pollinators, and strongly consider avoiding chemical treatments altogether in areas where you want pollinators to gather.
Stop using pesticides in your pollinator planting area
Before adding a single plant, commit to a chemical-free zone. Remove any pesticide-treated soil amendments and allow a waiting period before planting — check the product label or contact your local cooperative extension office for guidance on how long residue may persist. Going forward, rely on hand-removal of pests, physical barriers, or companion planting to manage unwanted insects in this area.
Choose native flowering plants suited to your region
Native plants have co-evolved with local pollinators and are far more effective at attracting and feeding them than most ornamental imports. Research which species are native to your state or hardiness zone — resources from your local cooperative extension service or a native plant society are reliable starting points. Strong general choices across many U.S. regions include coneflowers (Echinacea), milkweed (Asclepias), black-eyed Susans, and bee balm. For more guidance on incorporating natives into your landscape, see why ecologists recommend native plants for home landscapes.
Plan for continuous bloom across the growing season
Pollinators need food from early spring through late fall. Map out your planting area so that at least one species is flowering at any given time across that window. Early spring bloomers like native violets and wild columbine feed emerging queen bumblebees. Mid-season plants like coneflowers and lavender serve the peak pollinator season. Late bloomers such as goldenrod and native asters are critical for bees preparing for winter. If you're building out a broader garden plan, our first-season family garden roadmap can help you organize your planting schedule.
Add a clean, shallow water source
Bees and butterflies need reliable access to fresh water, but they can drown in deep containers. Place a shallow dish, saucer, or birdbath filled with clean water in or near your garden. Add a few flat stones or marbles so small insects have a safe landing spot. Refresh the water every two to three days to prevent mosquito breeding.
Leave some bare soil and undisturbed areas for ground-nesting bees
Roughly 70 percent of native bee species in North America nest in the ground rather than in hives. A patch of loose, bare, well-drained soil in a sunny spot gives these bees a place to lay eggs and overwinter. Similarly, leaving a small pile of dead stems, a cluster of leaf litter, or an untreated log in a corner of the yard provides habitat for cavity-nesting bees and overwintering butterflies. Resist the urge to tidy everything — a little wildness goes a long way.
Maintain your garden organically through the seasons
Keep your pollinator garden healthy without chemicals by pulling weeds by hand, applying organic mulch to reduce weed pressure, and enriching soil with compost rather than synthetic fertilizers. Rich, living soil supports healthier plants that are more attractive to pollinators. To build a simple composting habit that feeds your garden year-round, see our guide on turning kitchen scraps into garden compost. Each spring, do a light cleanup — but leave plant stems standing until daytime temperatures consistently reach 50°F, as many native bees overwinter inside hollow stems.
Avoid 'Wildflower Mixes' With Invasive Species
Seed packets labeled as wildflower mixes sometimes contain non-native or invasive species that can crowd out the native plants pollinators depend on most. Read the species list on any seed packet before purchasing and prioritize plants native to your specific region. Your local cooperative extension office can advise on which species are appropriate for your area.
Keeping the Momentum: Year-Round Habits
A pollinator garden rewards consistency more than intensity. Once your plants are established and pesticides are out of the picture, the main tasks are seasonal: add new native species in spring, deadhead spent blooms to encourage continued flowering, refresh water sources regularly, and hold off on fall cleanup until temperatures signal it's safe for overwintering insects.
If your yard soil is compacted or depleted, improving it organically over time will make your plantings more vigorous. Our spring yard prep checklist can help you align these habits with the gardening calendar. Over two to three seasons, most families notice a noticeable increase in bee and butterfly activity — a reward that's easy to sustain once the foundation is in place.
The content provided on our blog site traverses numerous categories, offering readers valuable and practical information. Readers can use the editorial team’s research and data to gain more insights into their topics of interest. However, they are requested not to treat the articles as conclusive. The website team cannot be held responsible for differences in data or inaccuracies found across other platforms. Please also note that the site might also miss out on various schemes and offers available that the readers may find more beneficial than the ones we cover.