

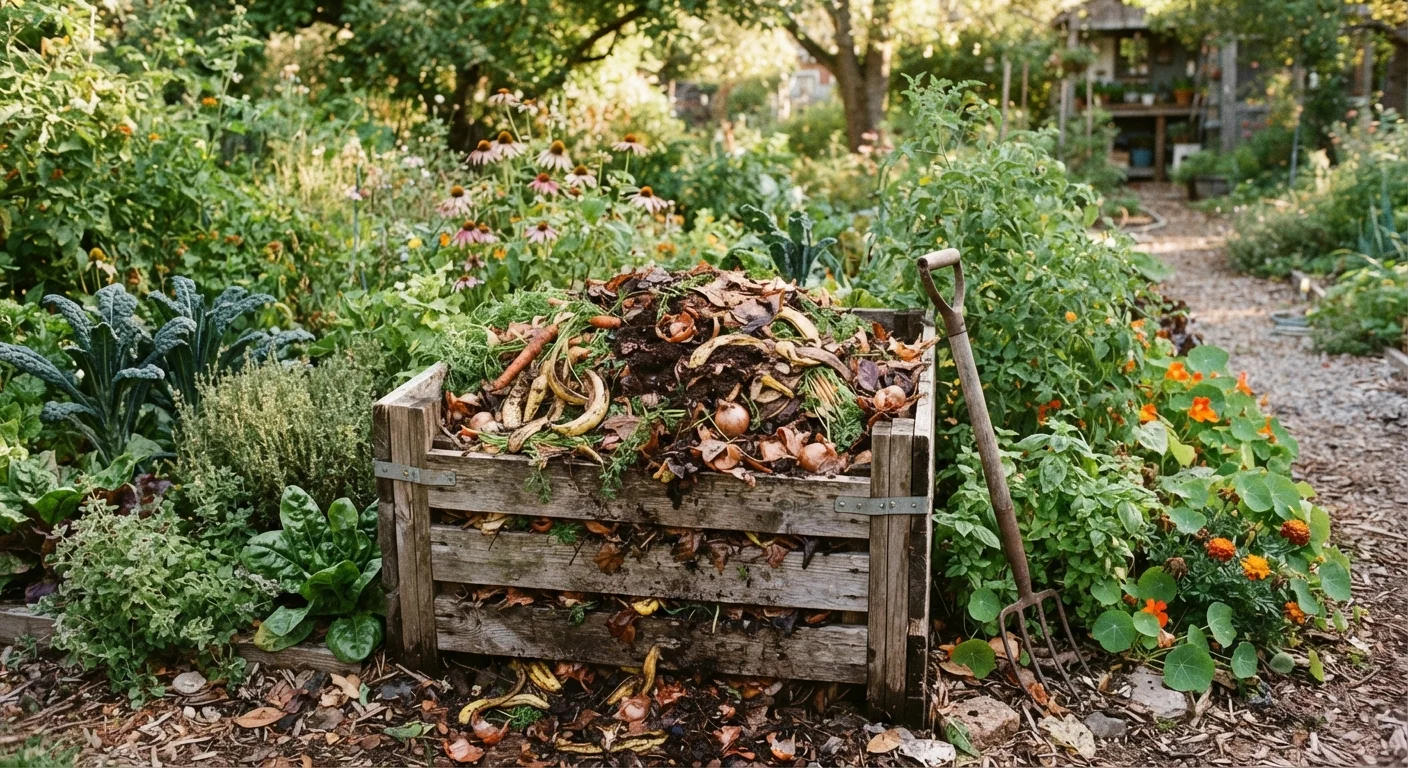
Why Composting Makes Sense for Families
Every household generates a steady stream of food scraps — fruit peels, vegetable trimmings, coffee grounds, and eggshells — that typically go straight to the trash. Composting is the practice of collecting those organic materials and allowing microorganisms, fungi, and earthworms to break them down into a dark, crumbly, soil-like substance called humus (not the dip — pronounced hyoo-mus). This finished material is sometimes called compost or garden amendment, and it works as a natural fertilizer and soil conditioner.
For families working on a home garden, compost provides a meaningful return on what would otherwise be waste. It improves clay soils by loosening them, helps sandy soils hold moisture, and introduces slow-releasing nutrients that feed plants steadily. If you're starting a family garden from scratch, having homemade compost available from the beginning gives your plants a genuine advantage.
There are also practical household benefits. Less organic waste going to the trash means lighter bags, reduced odor from the bin, and a smaller environmental footprint — a concrete, hands-on way to show kids how natural cycles work.
Composting and Common Garden Myths
You may have heard that coffee grounds alone make a great fertilizer or that compost replaces all need for watering. Both ideas are oversimplifications. Compost improves soil structure and adds a broad range of nutrients, but it works alongside — not instead of — good watering and care practices. For a fuller picture, our article on garden myths families still believe addresses several misconceptions worth knowing before you dig in.
What You'll Need Before You Start
Setting up a home compost system doesn't require a big investment or a large yard. Below are the tools that help most beginners get started reliably.
Compost bin or designated pile area
Contains materials neatly, retains some moisture and heat, and speeds up decomposition.
Small countertop collection container
Holds daily kitchen scraps conveniently until you're ready to take them outside.
Garden fork or pitchfork
Used to turn and aerate the pile, which accelerates the breakdown process.
Garden hose or watering can
Keeps the pile at the right moisture level — roughly as damp as a wrung-out sponge.
What you will need
How to Build and Maintain Your Compost Pile
The core principle behind composting is maintaining the right balance of materials, moisture, and airflow. Follow these steps to get your pile started and keep it active.
Choose your composting location and container
Pick a spot that gets partial shade, has access to the garden, and is reasonably close to your kitchen door to make daily trips easy. You can use a purchased bin with a lid, build a simple three-sided enclosure from wood pallets, or simply designate a ground-level pile in an out-of-the-way corner. Aim for a footprint of at least three feet by three feet — this minimum mass helps the pile generate enough internal heat to decompose efficiently.
Understand greens vs. browns
Successful composting relies on balancing two types of organic material:
- Greens (nitrogen-rich): fruit and vegetable scraps, coffee grounds and filters, fresh grass clippings, plant trimmings
- Browns (carbon-rich): dry leaves, cardboard torn into small pieces, paper bags, straw, wood chips
A general guideline is to aim for roughly two to three parts browns for every one part greens by volume. Too many greens creates a wet, smelly pile; too many browns slows decomposition significantly.
Layer and add materials correctly
Start with a four-to-six inch base layer of coarse browns like wood chips or torn cardboard to encourage drainage and airflow. Add a layer of greens on top, then cover with another browns layer. Continue alternating as you add new material. Chop or tear scraps into smaller pieces — anything under two inches breaks down considerably faster than large chunks.
Manage moisture and aeration
Check your pile's moisture level weekly. It should feel damp throughout — similar to a wrung-out sponge — but not dripping wet. If the pile seems dry, add water gradually and mix it in. If it's too wet and smells like ammonia, add more browns and turn the pile. Use your fork to turn the outer edges toward the center every one to two weeks; this introduces fresh oxygen and speeds up decomposition noticeably.
Recognize finished compost and harvest it
Finished compost looks and smells like rich, dark soil — earthy, not rotten. You should not be able to identify the original scraps. This typically takes two to six months depending on conditions. To harvest, stop adding new material and allow the pile to finish. Many gardeners keep two bins: one actively receiving scraps while the other finishes. Scoop finished compost from the bottom of the pile where it matures first.
Watch for Pest Attraction
An improperly managed compost pile can attract rodents or other wildlife, especially if food scraps are left uncovered near the surface. Always bury fresh kitchen scraps under a layer of browns and consider a bin with a secure lid if wildlife is active in your area. A balanced, regularly turned pile is far less likely to cause problems than one that sits untouched for weeks.
Once your compost is finished — dark, earthy-smelling, and crumbly with no recognizable food pieces — work it into garden bed soil at a depth of two to four inches, or use it as a top dressing around established plants. For more ideas on where to use finished compost, our guide to container gardening shows how even small-space gardeners can put it to work. And if you're weighing whether composting is the right fit for your household before committing, see our balanced look at the effort vs. payoff.
The content provided on our blog site traverses numerous categories, offering readers valuable and practical information. Readers can use the editorial team’s research and data to gain more insights into their topics of interest. However, they are requested not to treat the articles as conclusive. The website team cannot be held responsible for differences in data or inaccuracies found across other platforms. Please also note that the site might also miss out on various schemes and offers available that the readers may find more beneficial than the ones we cover.