

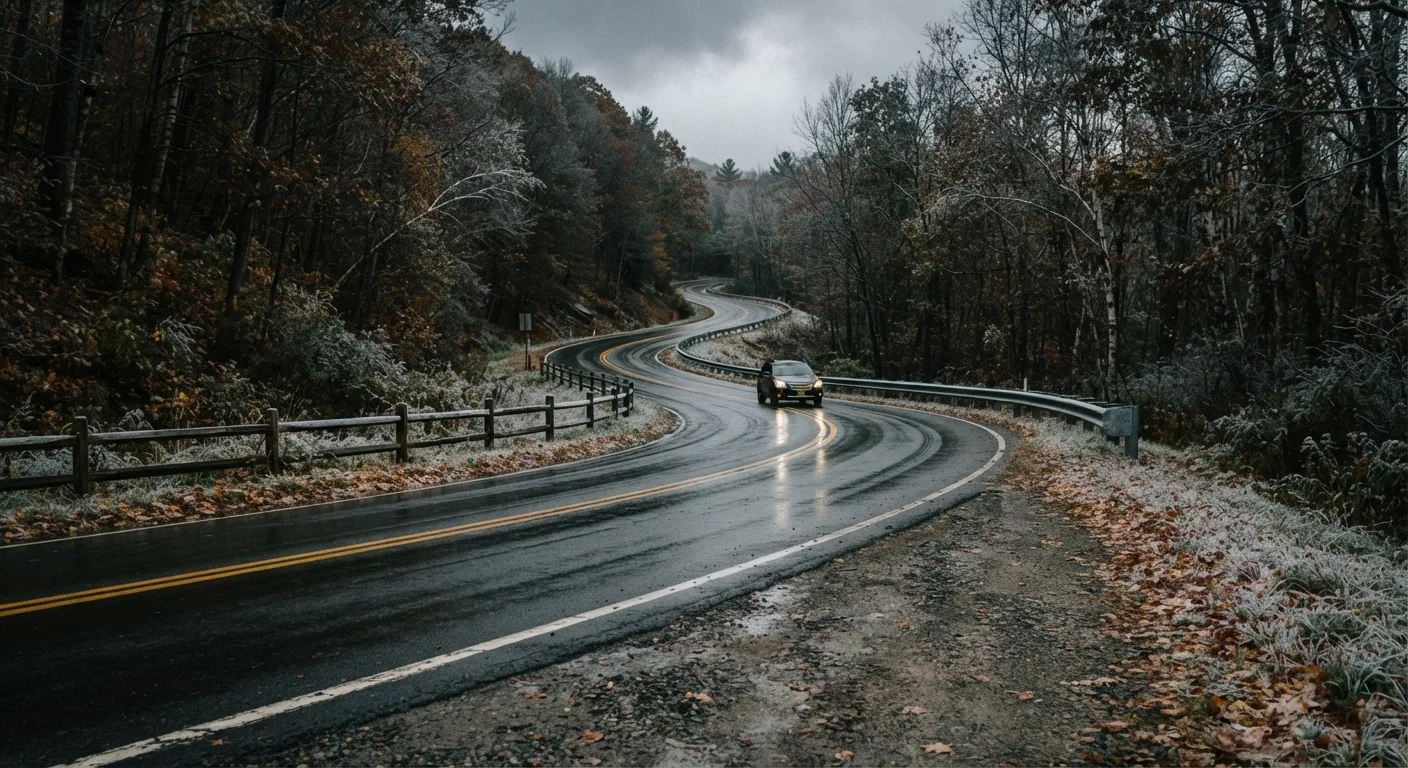
Why Surface Conditions Change Everything
Your tires are the only part of your vehicle that actually touches the road. Everything else - your brakes, your steering, your engine - works through that small contact patch. When the surface underneath changes, your margin for error shrinks, sometimes dramatically.
Different surfaces don't just reduce grip; they change how grip fails. Wet asphalt tends to give you some warning before sliding. Gravel shifts unpredictably. Black ice - a thin, nearly transparent layer of frozen water - can vanish your traction almost instantly. Knowing the character of each surface helps you respond appropriately rather than react blindly.
For more on how weather events set up hazardous driving conditions before you even pull out of the driveway, see how weather forecasts should change how you drive.
What you will need
What You Need Before You Start
Safe surface-specific driving starts before you leave home. Make sure these basics are in order:
Tire tread depth gauge
Measures remaining tread depth to confirm tires can channel water and maintain grip on wet or loose surfaces.
Tire pressure gauge
Verifies that tires are inflated to the manufacturer's recommended pressure for optimal contact and handling.
Ice scraper and snow brush
Clears ice and snow from all glass surfaces before driving in winter conditions.
Emergency roadside kit
Provides warning triangles, a flashlight, and basic supplies in case you need to stop on a compromised surface.
Good tire pressure, tread depth, and rotation habits are foundational - worn or underinflated tires perform far worse on any compromised surface. If your tires are marginal in dry conditions, they'll be dangerous in wet or icy ones.
Step-by-Step: Adjusting to Each Surface
Follow these steps each time road conditions shift. The adjustments are cumulative - apply all relevant ones for whatever surface you're on, not just one or two.
Identify the Surface as Soon as Conditions Change
Watch for visual and audible cues as you drive. Wet asphalt looks darker and reflects headlights or surrounding light. Gravel sounds different - you'll hear it pinging the undercarriage. Black ice is the trickiest: the road looks dry or slightly shiny and feels normal until it doesn't. If the temperature is near or below freezing and you haven't noticed other drivers spraying water, be suspicious of any pavement that looks unusually glossy.
Reduce Speed Before You Need To
Don't wait for a curve or a stopped vehicle to realize you're going too fast. Reduce your speed as soon as you recognize a surface change. On wet roads, allow at least 30% more stopping distance than dry conditions. On ice or packed snow, stopping distances can be five to ten times longer than on dry pavement at the same speed. On gravel, the loose material acts like ball bearings - cornering at normal speed is a genuine rollover risk on rural roads.
Increase Your Following Distance
Double or triple the gap between your vehicle and the one ahead. A practical method: pick a fixed point on the road (a sign, a painted mark) and count the seconds until your front bumper reaches it after the car ahead passes it. In normal dry conditions, three seconds is a common guideline. On wet pavement, aim for six seconds. On ice, eight to twelve seconds is more realistic - and experienced winter drivers often leave even more.
Use Smooth, Gradual Inputs for All Controls
On any low-traction surface, abrupt inputs are your enemy. Apply the brake pedal progressively rather than jabbing it. Steer with slow, deliberate movements. Accelerate gently from stops - spinning the rear wheels on ice or gravel can send the back of the car sideways. Think of the traction available as a fixed budget: the harder and faster you demand from any one control, the less is left for the others.
Know How to Respond to a Skid
Despite best precautions, skids happen. How you respond in the first two seconds determines the outcome.
- Front-wheel skid (understeer): The front of the car pushes wide through a turn. Ease off the gas, look where you want to go, and steer gently toward it. Do not over-correct.
- Rear-wheel skid (oversteer): The back of the car slides out. Steer gently in the direction the rear is sliding - this is called "steering into the skid" - and ease off the gas. Avoid braking hard, which can spin the vehicle.
- ABS activation: If your car has anti-lock brakes and they engage (you'll feel a pulsing sensation in the pedal), keep steady, firm pressure on the brake. Do not pump the pedal - let the system do its job.
Adjust Again When Surfaces Transition
Roads rarely stay one surface type for long. Pay attention to transitions - pavement becoming gravel, shade ending, a bridge beginning. Each transition point is where accidents cluster because drivers carry over assumptions from the surface they just left. Treat each new section as a fresh read: scan, adjust speed, maintain distance, and keep your inputs smooth.
Surface Conditions Can Change Mid-Trip
A route that was clear when you left home can deteriorate quickly, especially as temperatures drop after sunset or when you enter shaded valleys or higher elevations. Do not set your speed at the start of a trip and cruise. Check conditions continuously - particularly on rural roads and highways where maintenance schedules are less frequent.
Conditions often mix. A road may transition from dry pavement to wet asphalt to a gravel patch within a single mile, especially near construction zones. See our guide to navigating school zones and construction areas for high-risk road environments where surfaces change without warning.
Common Mistakes That Make Bad Surfaces Worse
Even experienced drivers fall into habits that work fine in good conditions but cause problems when surfaces change.
- Over-relying on all-wheel drive (AWD): AWD helps you accelerate on slippery surfaces but does not meaningfully improve braking or cornering. Many drivers feel overconfident in AWD vehicles and brake too late.
- Brake-then-steer: On slick surfaces, trying to steer while braking hard overwhelms traction. Modern anti-lock braking systems (ABS) help, but the safest habit is to reduce speed before reaching a turn.
- Keeping normal following distances: Stopping distances roughly double on wet roads and can multiply several times on ice. The standard three-second following rule needs to expand to six or more seconds in poor conditions.
- Ignoring bridges and overpasses: These structures are exposed to cold air on all sides and freeze well before road-level pavement does.
Low-light conditions compound all of these risks. If you're driving at night on a compromised surface, the challenges stack quickly - our piece on driving after dark covers how to adjust further.
Practice Low-Traction Responses Safely
Consider finding an empty, flat parking lot on a snowy or wet day to practice gentle braking and skid recovery at very low speeds. Familiarity with how your specific vehicle responds to a loss of traction is far more valuable than reading about it. Some community driver education programs offer winter driving clinics - check your local traffic safety resources.
This article provides general driving safety information for educational purposes. It is not a substitute for formal driver training or advice from a certified driving instructor. Always follow local traffic laws and posted speed limits.
The content provided on our blog site traverses numerous categories, offering readers valuable and practical information. Readers can use the editorial team’s research and data to gain more insights into their topics of interest. However, they are requested not to treat the articles as conclusive. The website team cannot be held responsible for differences in data or inaccuracies found across other platforms. Please also note that the site might also miss out on various schemes and offers available that the readers may find more beneficial than the ones we cover.